There is something inherently romantic about working with yeast dough. It requires patience, warmth, and a gentle touch – much like the relationships we celebrate in February. These Red Velvet Valentine’s Day Cinnamon Rolls are my absolute favorite way to slow down and make something spectacular for the people I love. Instead of the usual box of chocolates, imagine waking up to the smell of cocoa and warm yeast wafting through the house. It is the kind of Valentine’s Day breakfast idea that says “I care” without needing to say a word.
I started making these a few years ago when I wanted a break from traditional pancakes. The vibrant red color is stunning, but it is the flavor that really hooks you. The dough has that subtle hint of cocoa – classic to any red velvet recipe – which pairs beautifully with the brown sugar cinnamon filling. It is not just a regular roll dyed red, it is a richer, slightly earthier dough that balances the sweet cream cheese icing perfectly.
The Secret to Soft Red Velvet Dough
Getting that pillowy texture in a red velvet dough can be tricky because cocoa powder can sometimes dry things out. The trick here is finding the right balance of fats and hydration. I use melted butter and warm milk to enrich the dough, ensuring it stays tender even after baking. The cocoa powder adds depth, but we keep the amount modest so the rolls remain fluffy rather than dense.
For the color, I highly recommend using a high-quality gel food coloring. Liquid drops can water down your dough and require you to add more flour, which leads to tough rolls. A concentrated gel gives you that deep, romantic crimson hue without altering the hydration levels. It turns a standard pastry into one of the most festive V Day baked goods you can serve.
Filling and Rolling Techniques
The filling is where the magic happens. While the dough brings the chocolate notes, the filling brings the warmth. We stick to a classic mix of brown sugar and cinnamon, but make sure your butter is truly soft – not melted – when you spread it on the dough. Melted butter tends to leak out during baking, while soft butter stays put and creates that gooey center we all crave.
When you are rolling up the cylinder, try not to wrap it too tightly. If the dough is constricted, the centers will pop up like little volcanoes in the oven instead of spreading out evenly. A gentle hand leads to a better shape. And for cutting? Forget the knife. Use unflavored dental floss to slice through the log. It keeps the round shape intact and prevents you from squishing those beautiful red layers.
That Tangy Cream Cheese Glaze
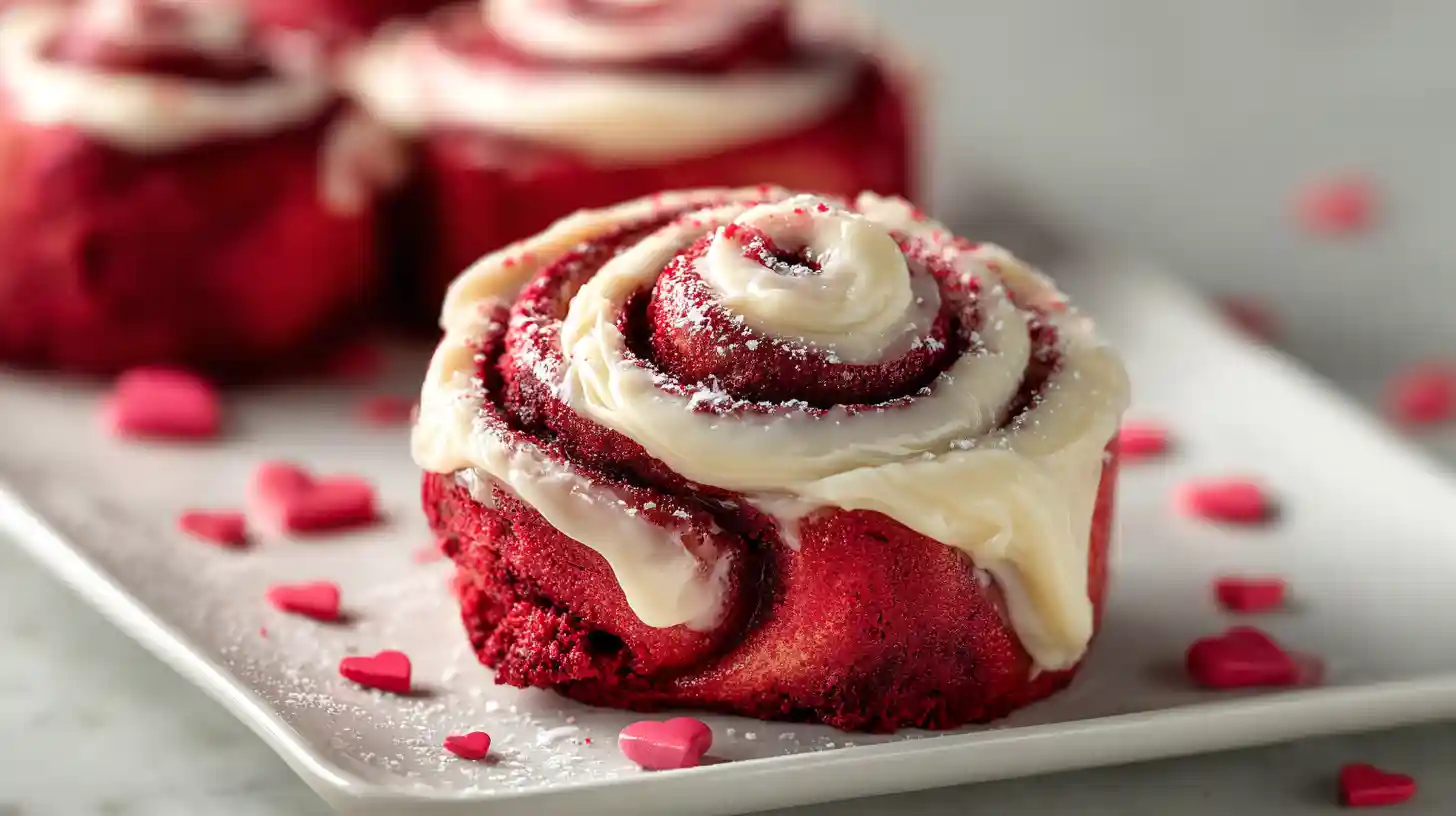
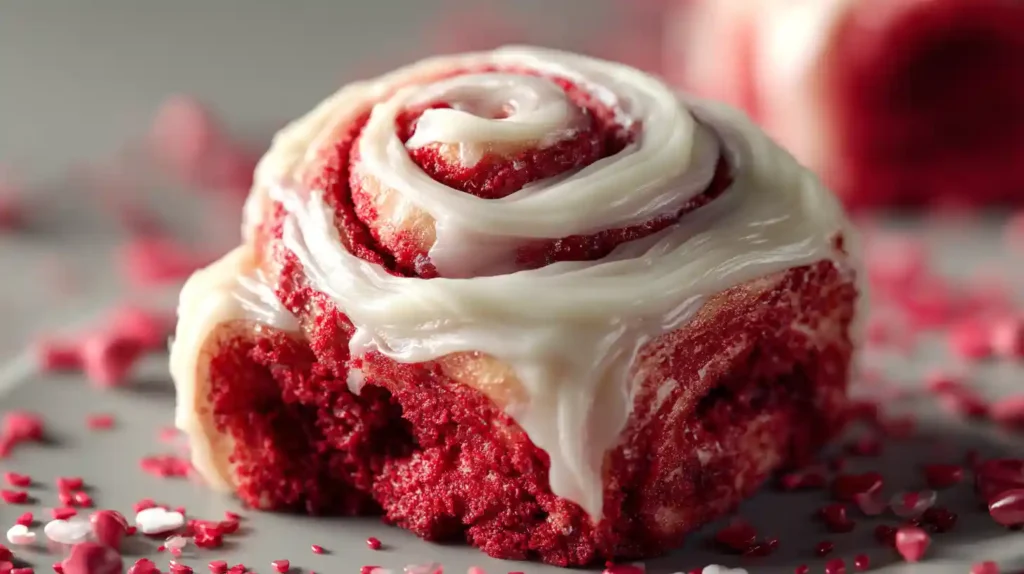
You cannot have red velvet without cream cheese. The tanginess is essential to cut through the sweetness of the sugar and the richness of the cocoa. This glaze is somewhere between a frosting and a drizzle. You want it thick enough to stay white and opaque on top of the red rolls, but loose enough to drip down into the spirals.
I like to frost these while they are still warm, although not hot. The heat from the rolls melts the bottom layer of the icing just enough to let it seep into the cracks, making every bite moist and flavorful. Top it off with some heart sprinkles, and you have a professional-looking treat right in your own kitchen.
Troubleshooting Common Issues
Dough isn’t rising: Red velvet dough can be a bit heavier due to the cocoa and dye. Make sure your yeast is fresh and your rising spot is truly warm. I often preheat my oven for a minute, turn it off, and let the dough rise in there.
Rolls are dry: This usually happens from over-baking or adding too much flour during the kneading process. The dough should be tacky to the touch, not completely dry. Trust the stickiness because it means moisture in the final product.
Filling leaked out: If you see a pool of caramel at the bottom of the pan, your oven might not be hot enough to seal the dough quickly, or you used melted butter for the filling. Ensure your oven is fully preheated to 350°F before the rolls go in.
Making Ahead for Brunch
Valentine’s Day brunch recipes should be stress-free so you can enjoy the morning. The beauty of this recipe is that it adapts well to an overnight schedule. You can make the rolls, cut them, and place them in the baking pan the night before. Cover them tightly with plastic wrap and let them do their second rise slowly in the refrigerator overnight.
In the morning, take the pan out and let it sit on the counter for about 45 minutes to an hour to take the chill off while the oven preheats. They might need a few extra minutes in the oven since they start cold, but they will bake up just as fluffy as if you made them fresh.
Storage and Reheating
These rolls are best eaten the day they are made, but leftovers are still delicious. Store them in an airtight container at room temperature for up to 2 days. If you keep them longer, the fridge is safer due to the cream cheese icing, but bread tends to dry out in the cold.
To reheat, specifically microwave a single roll for about 15-20 seconds. This re-melts the fats and softens the dough, returning it to that fresh-baked texture. I wouldn’t recommend reheating the whole pan in the oven unless you want to risk drying them out.
FAQ
Can I use instant yeast instead of active dry?
Yes, you can. If using instant yeast, you don’t need to proof it in the milk first. Just mix it directly with the flour and other dry ingredients, then add the warm liquids. The rise times might be slightly faster.
Why did my rolls turn brown instead of red?
Cocoa powder is naturally brown, so if you don’t use enough food coloring, the result is a maroon or brownish hue. Use a generous amount of gel coloring to overcome the darkness of the cocoa.
Can I freeze these cinnamon rolls?
Absolutely. You can freeze the baked, un-frosted rolls for up to a month. Thaw them at room temperature and warm them in the oven before frosting. You can also freeze the unbaked cut rolls, then thaw and rise before baking.
What if I don’t have buttermilk?
This recipe uses regular warm milk, so you don’t need buttermilk! However, if you want that extra tang in the dough, you can substitute buttermilk, but warm it gently so it doesn’t curdle.
Do I have to use a mixer?
No, you can knead this dough by hand. It will take about 8-10 minutes of good old-fashioned elbow grease to get the dough smooth and elastic, but it is entirely doable without a stand mixer.
Can I make these without cocoa powder?
You can, but then they are just red-colored vanilla rolls. The cocoa powder is what gives them that authentic “red velvet” flavor profile, so I recommend keeping it in.

Red Velvet Valentine’s Day Cinnamon Rolls
Ingredients
Equipment
Method
- Activate yeast by mixing warm milk, yeast, and a pinch of sugar. Let sit for 5-10 minutes until foamy.
- Mix flour, remaining sugar, cocoa powder, and salt in a large bowl. Add yeast mixture, melted butter, eggs, vanilla, and food coloring.
- Knead dough for 5-7 minutes until smooth and elastic. Place in a greased bowl, cover, and let rise for 1-2 hours until doubled.
- Roll dough out into a 15×9 inch rectangle. Spread softened butter over the surface and sprinkle evenly with mixed brown sugar and cinnamon.
- Roll up tight from the long edge and cut into 12 rolls using dental floss. Place in a greased baking pan.
- Rise again for 30-45 minutes while preheating oven to 350°F (175°C).
- Bake for 25-30 minutes. Meanwhile, beat cream cheese, butter, powdered sugar, and milk to make the glaze.
- Frost the rolls while warm and top with heart sprinkles.
Notes
- Use unflavored dental floss to cut rolls without squishing them.
- Ensure milk is warm (110°F) but not hot to avoid killing the yeast.